A few years ago, I made some prints for an old colleague. I suspect the washing or fixing wasn’t done thoroughly, and the prints had started to yellow. I promised to make new ones, and today I finally got around to it.
We had agreed on three images—a series of seascapes from Hanko. I had taken the photos in the summer of 2020, so I dug out the negatives from my archive and headed to my darkroom. First, I mixed fresh chemicals. I used Foma LQN as the developer, which works nicely with Foma papers. One bottle of concentrate makes two liters of working solution. For the stop bath, I mixed a dilute 1:29 solution—fiber paper requires a weaker but longer stop. The fixer I prepared in the usual 1:4 ratio.
Next, I placed the first negative in the holder and focused the enlarger wide open. Once it was sharp, I stopped down to f/11 and poured the chemicals into the trays: developer, stop bath, two fixing trays, and a final wash tray. I now always fix prints in two stages—first using used fixer as a pre-fix, then finishing with freshly mixed fixer.
With everything ready, I turned off the lights and switched on the safelight. I started by exposing a test strip using Kodak’s exposure guide for 60 seconds. After developing it, I estimated the proper exposure time to be 20 seconds. To be sure, I made a second test strip with stepped exposures from 16 seconds upward in 2-second increments. This confirmed that 20 seconds was the right time.
I then exposed a full-size sheet for 20 seconds at a contrast grade of 2.5. Contrast is controlled using a filter in the enlarger, and there are ten different grades available—2.5 is on the softer end. I developed, stopped, and fixed the print as usual.
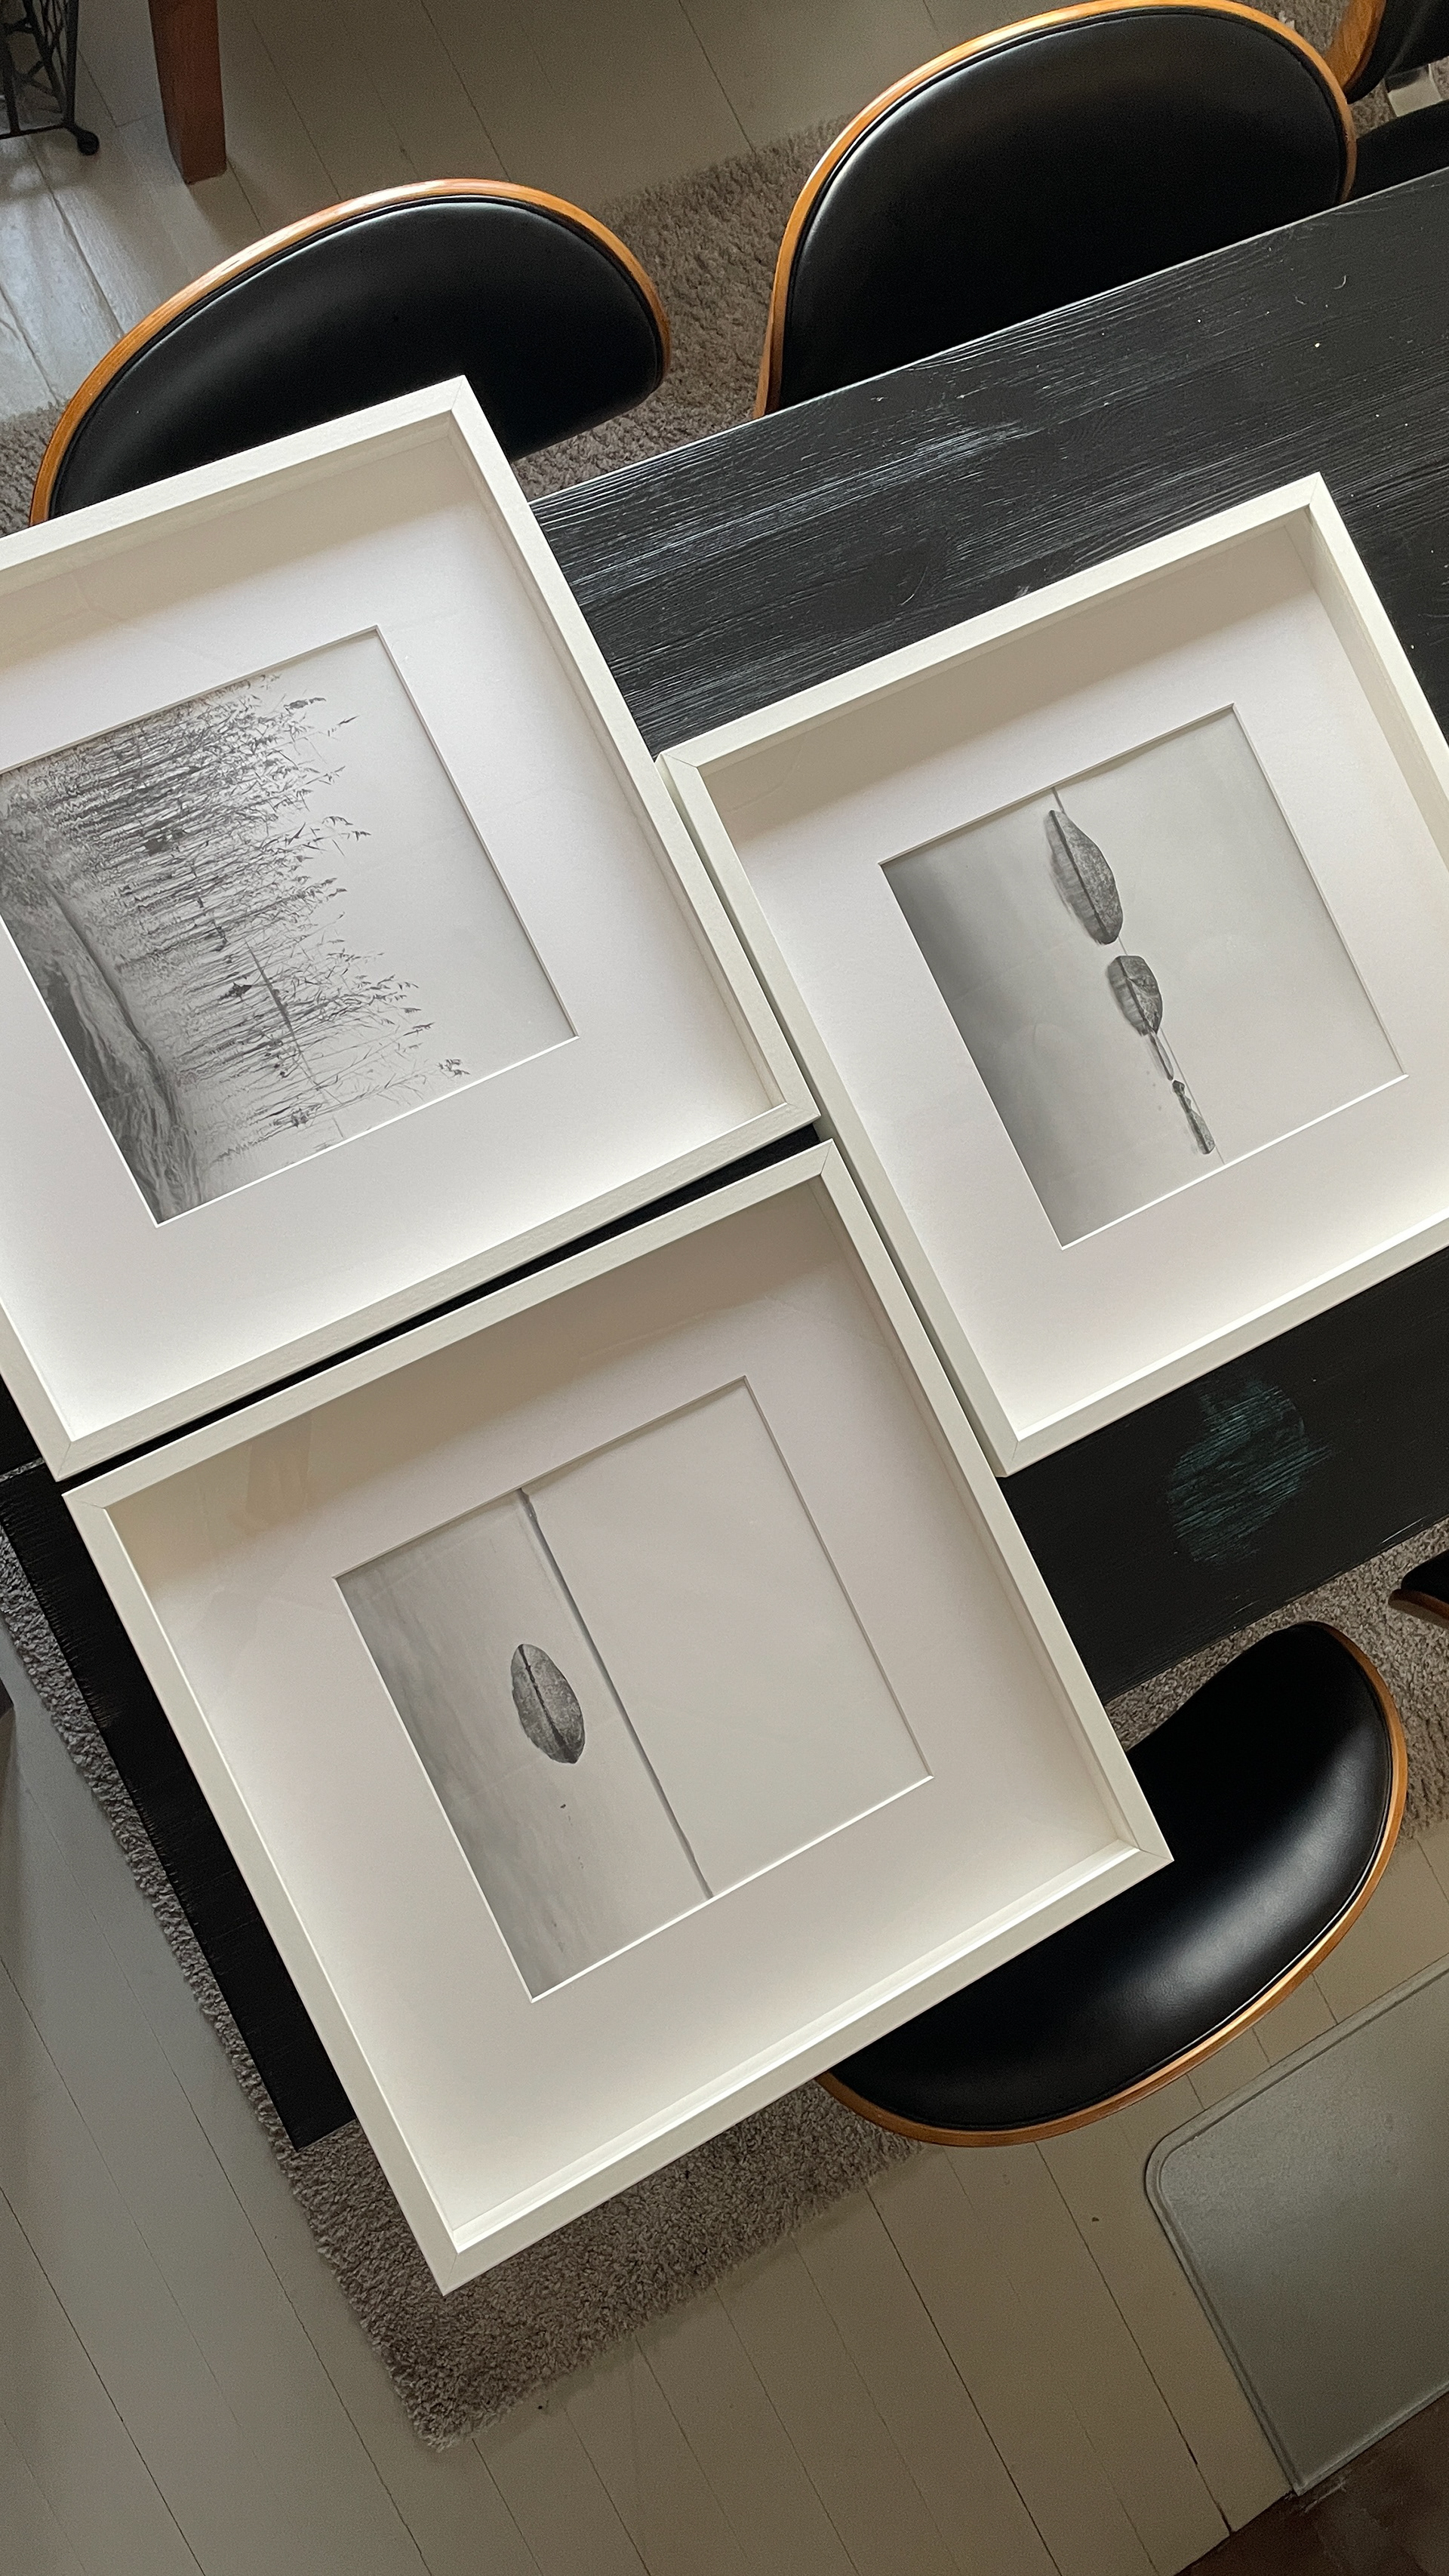
Final prints
When inspecting the print, I noticed a few dust specks on the negative. Otherwise, the exposure looked very good. I cleaned the negative and made another exposure. This time, most of the dust was gone, and the image came out beautifully.
I then made a second print, this time adding some vignetting and slightly overexposing the top and bottom edges to enhance the tonal range. Comparing it with the first version, I decided to let both dry before choosing my favorite.
After these two, I made a third print using a higher contrast filter—grade 3.5. I accidentally exposed the print without the filter the first time, ruining it. I worked more carefully after that and successfully produced a slightly punchier third version.
I washed all three prints under running water. First for about ten minutes, constantly refreshing the water and agitating the tray. Then I soaked them in a hypo-clear solution to thoroughly remove any remaining chemicals. Finally, I did a second ten-minute wash, and then hung the prints to dry.
All in all, making these first three prints took about four hours—without breaks. Now, looking at the slightly curled prints on the table, I have to say, they look good. The lower contrast actually works better. I’ll flatten them under some weights and ask my client tomorrow what kind of frames they’d like. Then I’ll go ahead and finish the remaining two prints.